An Ionic 2 app for the Drupal Dev Days


Drupal RESTful capabilities is great news for all developers. It allows us to decouple the view from the business logic yet leveraging all the cool features that drupal provides. In this scenario, we are able to build more things that consume our Drupal applications such a plain web service, a different front end or a mobile application. We will speak about the later using Ionic.
What is Ionic
Ionic is a open source framework to build progressive and native mobile applications for every major app store with one codebase using web well known technologies. It is built with AngularJS as its base framework and Angular 2 in Ionic 2. It also provides access to native APIs and features through Cordova plugins.
What we built
In order to be used as a reference for the Beyond the web: Mobile apps using Drupal & Ionic 2 workshop we built an Ionic 2 application based on the official site of the event to provide a way to check the program of the event and add some extra features taking advantage of the device capabilities such as add events to your calendar or receive push notifications with interesting information about the DDD.
Drupal RESTful Web Services
To build the app we use the official site project as the backend enabling first Drupal RESTful capabilities.
First we must install the RESTful Web Services and Serialization core modules, additionally the REST UI module will provide us an easy way to interact and configure the REST services we want to provide.
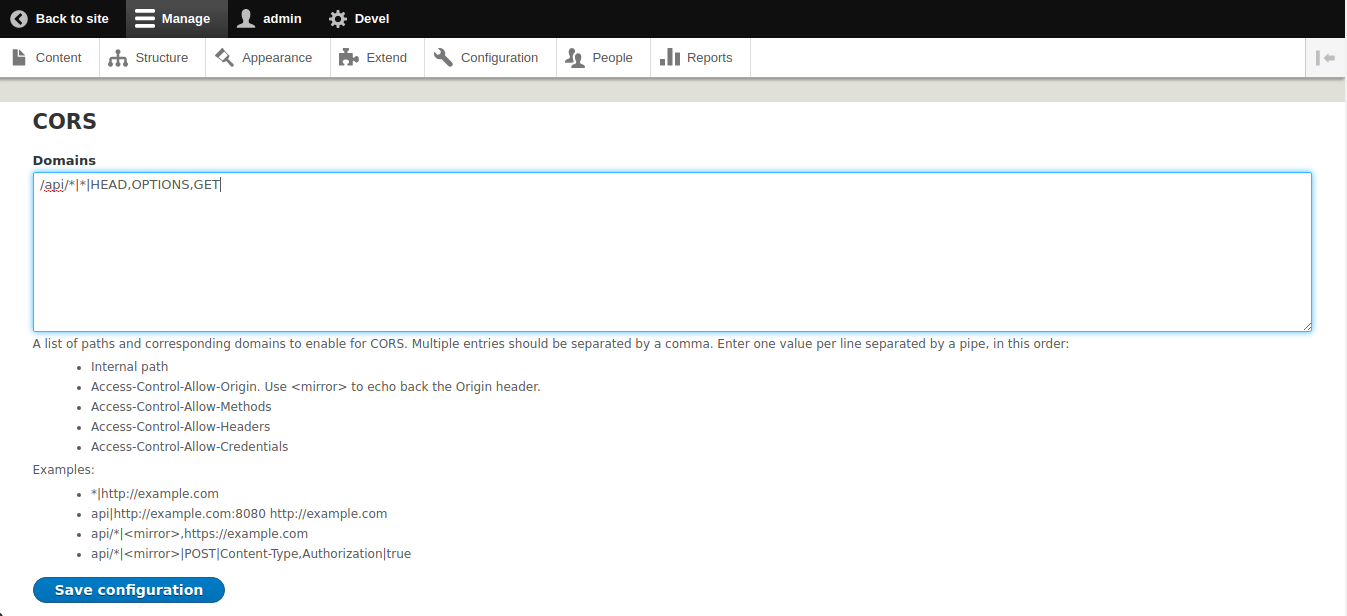
Since we will be using our rest endpoints from outside the server we must enable Cross-origin resource sharing (CORS) in order to allow external clients to access our web services. To do so we will instal the CORS module. Once we have the module installed we need to configure it (/admin/config/services/cors). Considering that we will expose our web services following the path structure /api/whatever and that we will only expose web services to get information from Drupal but never no change it we can set the following configuration (/api/*|*|HEAD,OPTIONS,GET):
Once we have this basic configuration we can work on the services we want to expose. To expose this desired services we will use views (/admin/structure/views/). First of all we add the REST export display to the desired view and assign it a path (/api/whatever).

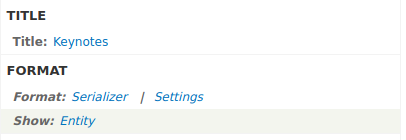
Just doing this we can access the created endpoint and we should be getting a JSON as a response with the entities representing the selected view. This JSON might be huge, though, and provide more information than needed or expose information that we want to keep private. So, in order to prune this JSON and return a more fine-grained response we must change the show format from Entity to Fields.
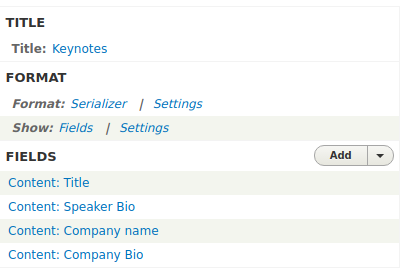
Now we can add as many fields as we need to create our custom JSON response.
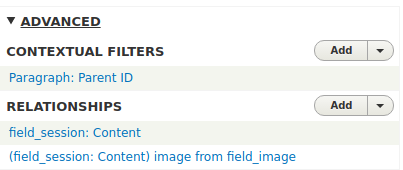
If we want a more complicated response that provide info coming from more than one entity we can create relationships
With these basic steps we have provided an api that can be consumed by third parties and this is what we do with our Ionic application.
The Ionic 2 application
The application is a really simple application but allows us to interact with the user’s device providing a better user experience. To build it we take advantage of the Ionic CLI to scaffold the basic side menu app structure of the app and work from this starting point. We just need two pages, one to show the schedule of a day and another one to show the details of a given session or keynote. Using ready-made Ionic components such as lists, buttons, loaders or icon is really easy while presenting a beautiful and native looking application.
The API we exposed before is consumed by the Ionic application through providers, classes to be used as services where most of the application business logic lives. They are responsible of getting the information from the API and apply the needed transformations using the underlying RxJS library prior to serve this data to the component class (which acts as a sort of controller) to be presented in the view.
The important point of doing the Ionic application is deliver these extra features the device is capable of. In this example we interact with the device calendar allowing the users to add a session or keynote to their calendar thus they can receive the event notifications in the same way they are used to. As mentioned before, interactions with device native APIs go through Cordova plugins. In this case we use the cordova-plugin-calendar wrapped by the Ionic Native wrapper (which adapts the plugin to be used easily in our Typescript based Ionic 2 application). The plugin allows us to create events in the user calendar with all the information of the event.
Another extra capability we gave our application is the ability to receive Push Notifications, so we will be able to notify users about important incidents (such as changes in the schedule) or remind them about important info (such as where the after party takes place) in a really convenient way. To use push notifications we will rely on Device Push. They provide a dashboard to manage the notifications for a huge number of platforms. They also provide the cordova/phonegap plugin we need to interact with the device.
Download the App for Android devices
Download the App for iOS devices