Elementor: Add new widget

1. What is Drupal Elementor?
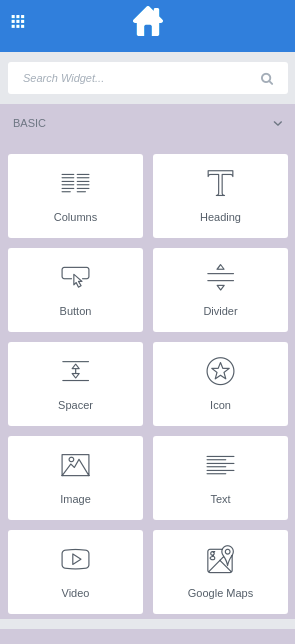
Elementor is a Drupal module whose purpose is to generate pages in a simple way, "drag and drop", the different widgets and applying the corresponding styles on the fly. The module provides us a simple and intuitive interface (fig 1.) with which we will get good results in the shortest possible time. You can have a look to our introduction to Elementor here.
2. What do we call a Widget?
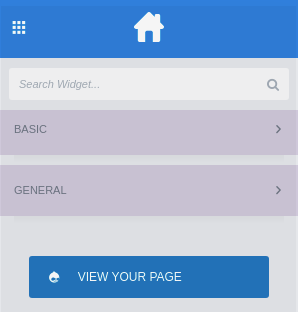
A widget in Elemetor is each of the individual blocks with which we can build our page. In fig.1 we can appreciate the basic widgets (Button, Divider, Space...) that compose our module. They are classified in 2 groups, Basic and General (fig.2) each of them with different widgets.
In each widget there are three blocks (fig.3) with which to manage both its content and the styles we are going to apply, these blocks are: Content, Style y Advanced.
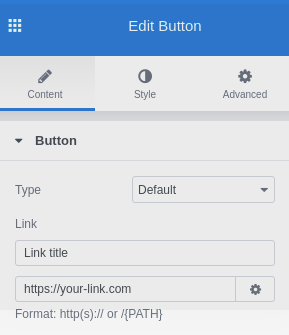
In this way, we can drag the widget to the place we want on the page, complete its content (Content), add styles to the widget itself (Style) and add styles in relation to the container where it is included (Advanced).
3. Creating a new widget
We have the possibility to add to the Elementor module a widget that brings a new functionality. In the example we are going to add a CountDown in order to indicate the expiration time of a product.
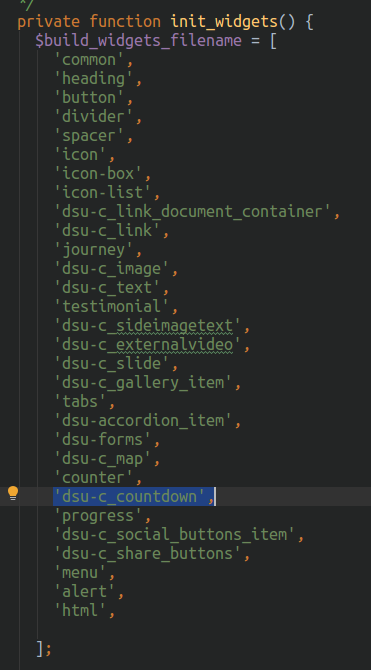
We access to the file elementor/elementor/includes/manager/widgets.php and add our new widget (dsu-c_countdown) to the init_widgets() function.
ext we will create the configuration file for our new widget in the path elementor/elementor/includes/dsu-c_countdown.php. For a better understanding we will break down the content of the file into different parts:
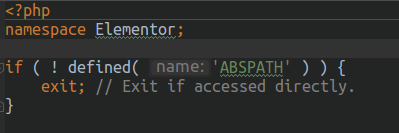
1. Common for every widget: You need to add the namespace Elementor; and a small check for elementor to find the widget:
2. Global Class: We create the Widget_Dsu_C_countdown class and extend it from Widget_Base so that we can make use of all its default methods.

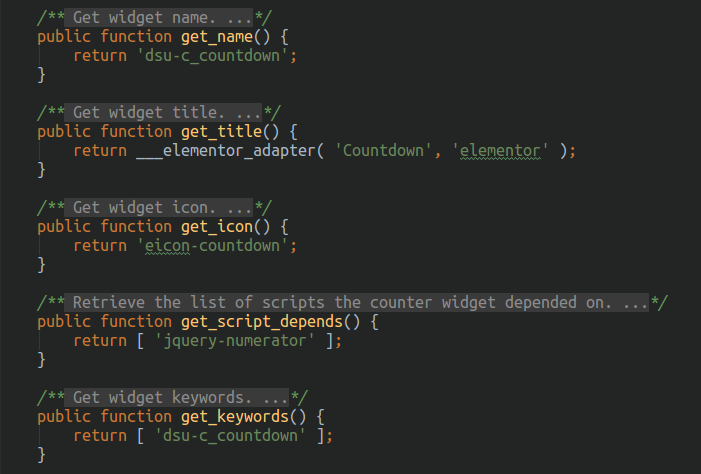
3. General information: Next we will add inside the Widget_Dsu_C_countdown class the information of the Widget that will appear in the Elementor options (fig.1). Name, Title, Icon and Keywords. In our case we must also add the function get_script_depends() to get information from the Jquery library used in the configuration.
4. Controllers: The next step is to add the sections that will be added to each of the Tabs in fig.3 to add both the content of the counter itself and the styles of the widget, i.e. the fields that will appear in Content and Style. To do this we create the function _register_controls(), in which by calling the function $this->start_controls_section() we will start the process to add the fields, specifically with the function $this->add_control() we will add each of them. If we want to add a date (which indicates the time of completion) and a title the code will be as follows:
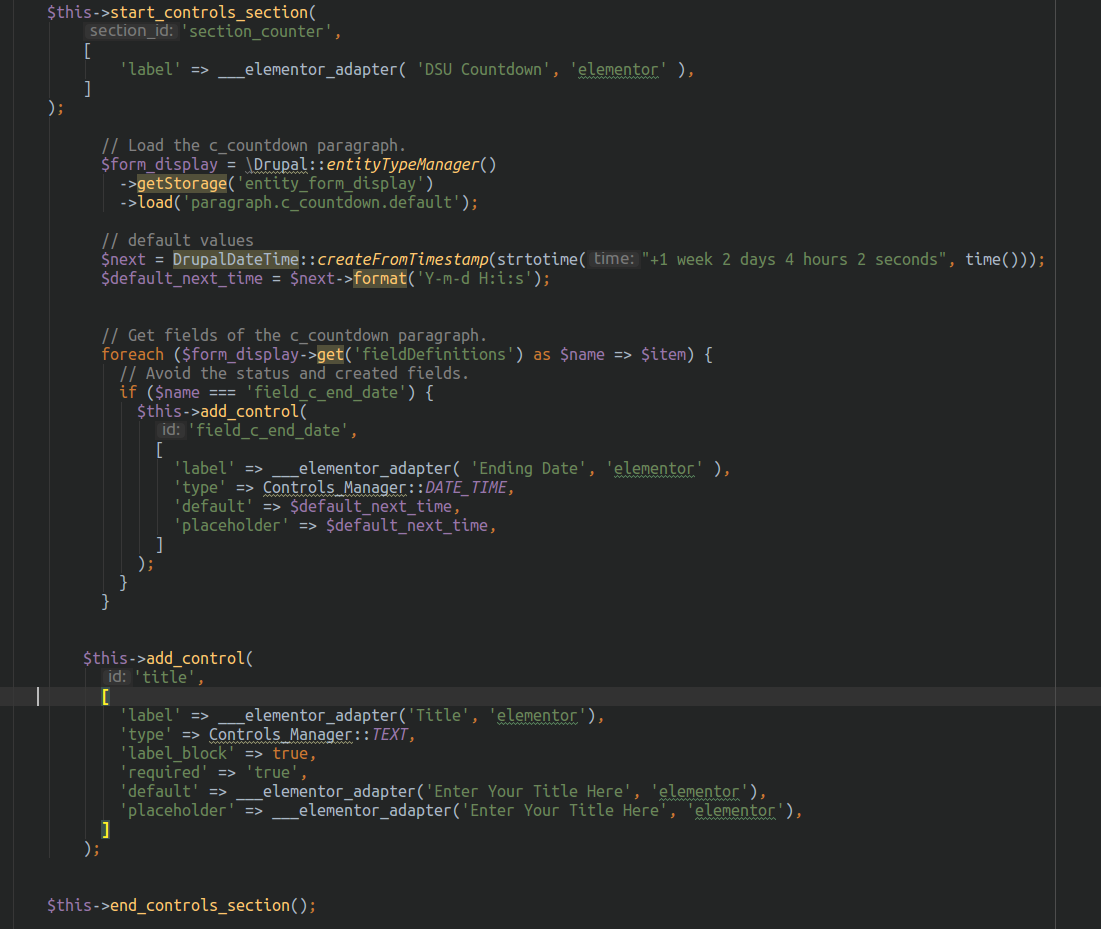
To close a controller section we have to indicate $this->end_controls_section();
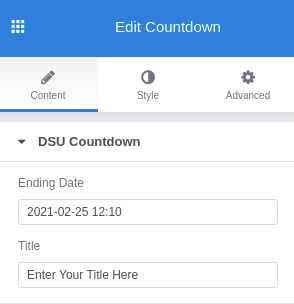
We can see that in the elementor interface the following input will appear with the following information:
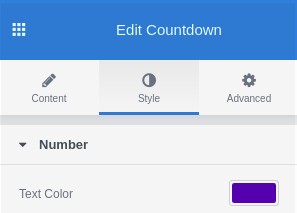
5. We repeat the process to add the possibility of modifying the styles by restarting a section of controllers indicating that the tab = TAB_STYLE.

Then we add the controller to change the colour of the numbers:

The result is:

Advanced style controllers are added automatically.
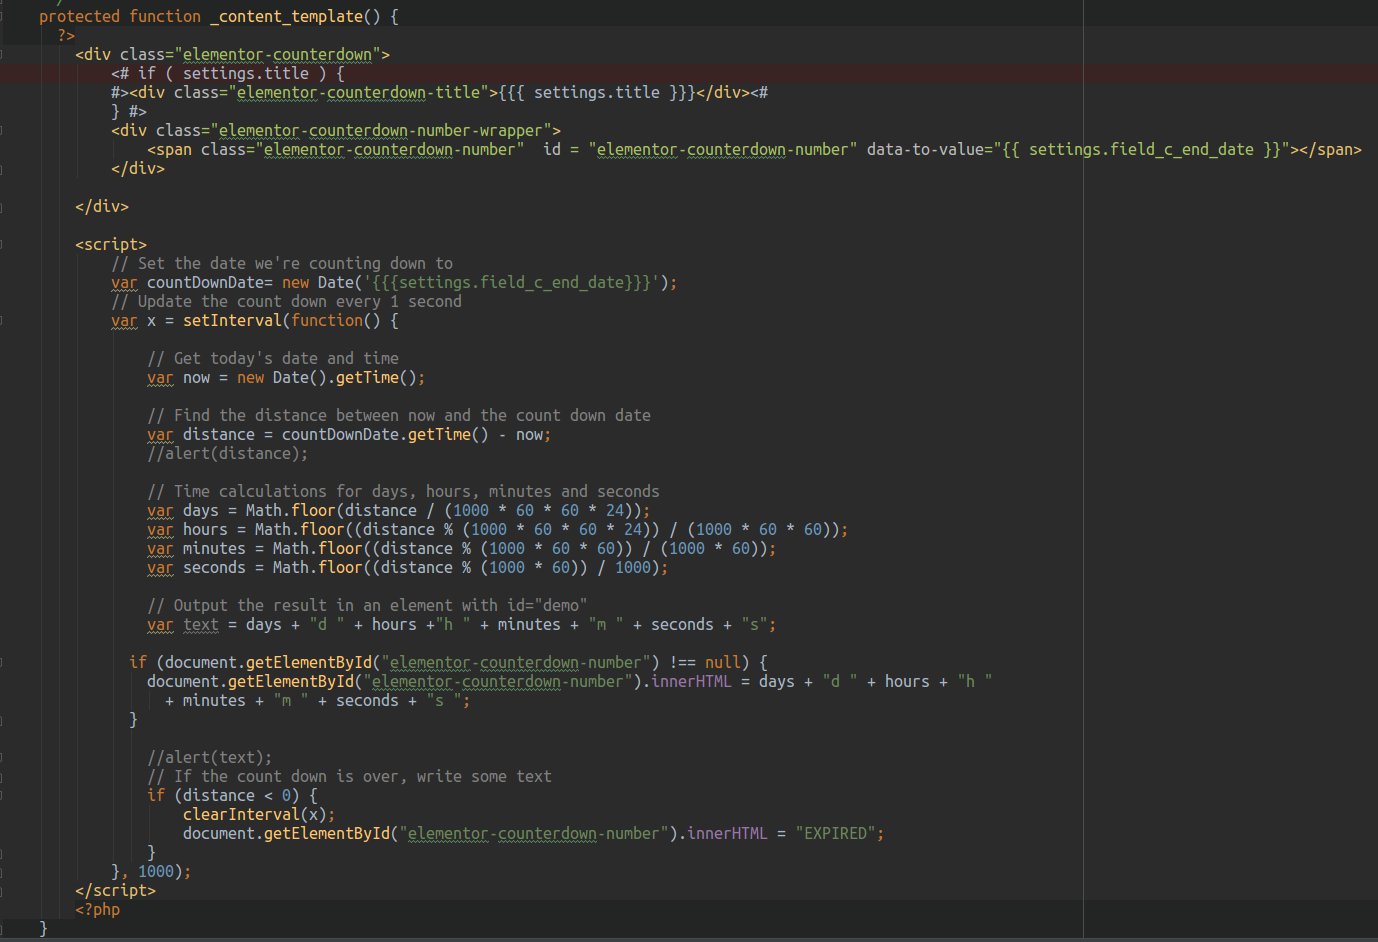
6. Rendering: The next step is to render the content of the controller on the page. In this case, having a dynamic content, the countdown does not stop advancing both with the default value and with the one we introduce manually, we must add the following functions:
_content_template() to render the counter with the default value.
render() to render the counter with the data inserted manually.
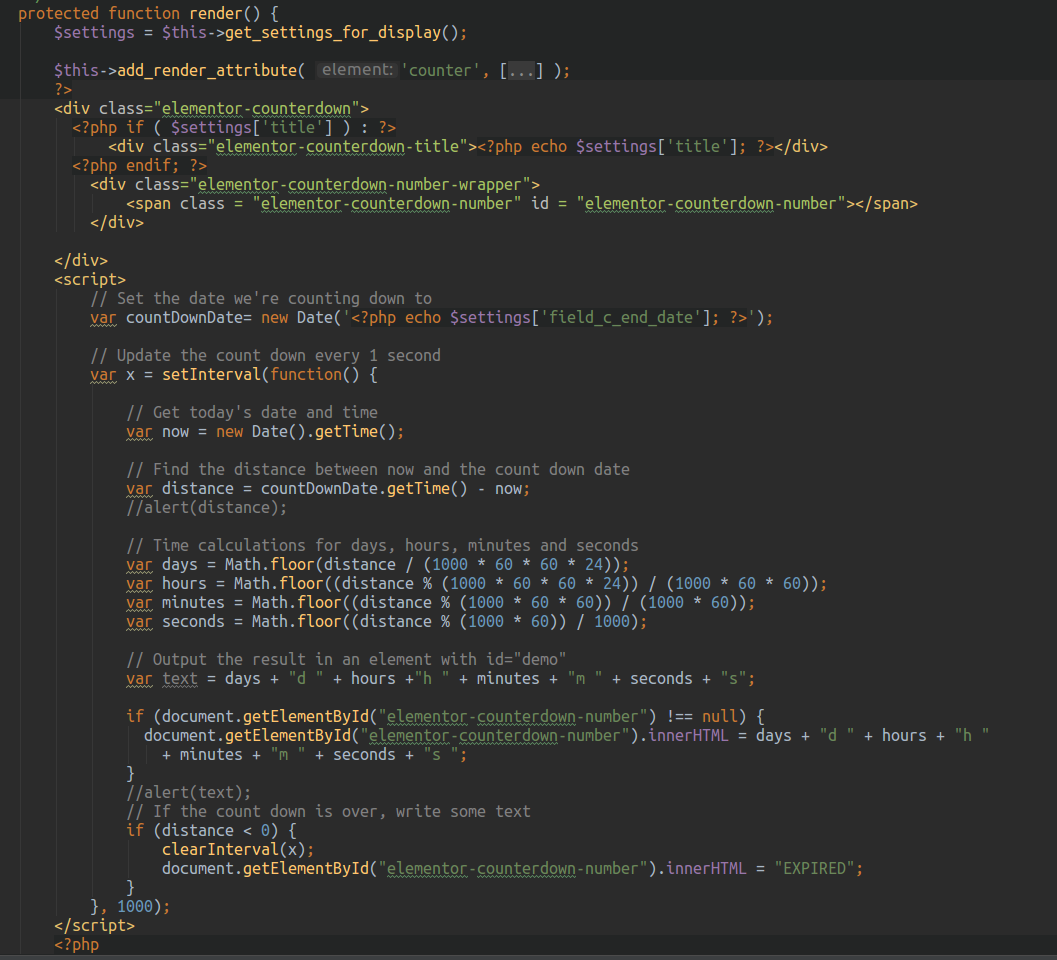
In both functions we create the HTML structure and add the JS code for the countdown to be performed in the correct way.


